Photo Printer Size: A Practical Guide for Home Printers
Learn how to choose the right photo printer size for home prints, from 4x6 to 8x10, and optimize DPI, paper, and cropping for sharp, accurate results.

What 'photo printer size' means and why it matters
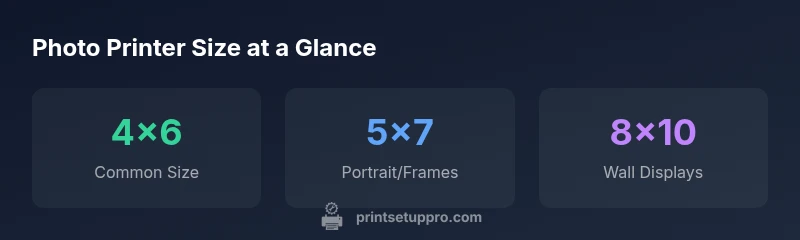
Photo printer size is more than a metric on a spec sheet; it defines how your image will occupy physical space and how much cropping occurs when printed. In practical terms, the most widely used sizes for home prints are 4x6 and 5x7 inches, with 8x10 inches popular for frames and display. The right size affects resolution requirements, media selection, margins, and ultimately color accuracy. According to Print Setup Pro, selecting the correct photo printer size reduces cropping and helps prints fit standard frames as intended. When planning, consider how the print will be displayed, the paper stock you choose, and whether you will print borderless or with margins. By starting with common sizes, you can calibrate color management and sharpen your workflow before attempting larger formats.
How print size interacts with print quality
Print size and image quality go hand in hand. The resolution of your source image must align with the final print size and the printer’s capabilities. A common rule is 300 dots per inch (DPI) for small prints like 4x6 to maintain sharp detail; larger prints require proportionally more pixel data to preserve clarity. For example, a 4x6 print at 300 DPI needs about 1200 by 1800 pixels; an 8x10 print at the same DPI needs roughly 2400 by 3000 pixels. If your source image falls short of these targets, you’ll see softness, banding, or color shifts. Some printers offer higher native DPI, but you still need adequate image resolution to avoid upscaling artifacts. Always preview at the intended print size in your editing software to catch issues before printing.
Common photo print sizes and ideal uses
Understanding use cases helps you pick the right size. 4x6 inches is ideal for quick snapshots, albums, and gift enclosures; 5x7 inches suits portraits and gift framing with a slightly larger display area; 8x10 inches provides a bold wall display for prized photos. Larger formats like 11x14 or 13x19 inches exist for gallery-worthy prints but demand higher source resolution and more capable printers. Aspect ratios must be considered; matching the aspect ratio of your image to the paper minimizes cropping. If your image’s aspect ratio doesn’t match the paper, plan for minimal cropping or add a border in editing to preserve the shot.
How to check your printer's supported sizes and settings
Begin by consulting the printer manual or the official support page to list supported print sizes and border options. In the printer driver or print settings, verify whether borderless printing is available for your chosen size; borderless prints maximize edge-to-edge images but may crop slightly depending on device. Use your software’s print preview to confirm margins and aspect ratio, and enable color management with a standard ICC profile recommended by the printer or paper manufacturer. If you’re unsure, run a test print on plain paper first before loading photo stock. Finally, confirm that the selected size matches the media tray and that the auto-cropping feature is disabled if you want full control over composition.
Practical steps to prepare images for different sizes
Prepare your image with the target print size in mind. Crop only if necessary to preserve essential subjects, and aim to maintain the original aspect ratio; you can crop later if you need to fit multiple sizes. Save copies at high resolution, preferably in TIFF or high-quality JPEG, to avoid repeated compression. When resizing, ensure that you maintain sharpness by using proper resampling methods in editing software. For 4x6 and 5x7, export at 300 DPI or higher; for larger formats, consider 240–300 DPI depending on viewing distance. Color management matters: calibrate your monitor and use consistent ICC profiles across your printer and paper. Finally, proof a small sample print before committing to a full batch of larger sizes.
Troubleshooting: cropping, color shifts, and DPI considerations
Cropping issues usually stem from aspect ratio mismatches; reframe the image or print with borders if needed. Color shifts can occur when printer profiles don’t align with the paper type; install the correct ICC profile from the paper manufacturer and use the printer’s color management options. DPI guidance helps prevent grainy results on larger prints, but it also depends on the resolution of the source. If your image is too low-res for a chosen large size, it’s better to downscale to a more suitable print size than to upsize aggressively. Keep notes on which settings worked best for each size so you can reproduce reliable results.
Budgeting for different sizes: cost, paper, and waste
Size choice impacts material costs and waste. 4x6 prints are typically the most economical per unit, while 8x10s and larger demand more expensive paper and ink. Consider paper stock quality and finish (gloss, lustre, satin) in your cost calculations, as these affect perceived sharpness and color. If you frequently print portraits or family photos, negotiate accordingly with paper stock and ink usage. Finally, reserve a margin for reprints to prevent waste from cropping adjustments or color corrections, and reuse images for multiple sizes when appropriate.