Printer Printing with Streaks: Quick Guide and Troubleshooting
Urgent guide to diagnose and fix printer printing with streaks. Step-by-step fixes, diagnostic flow, tips, and prevention from Print Setup Pro.

Most streaking starts with a clogged printhead or misalignment. Begin with a nozzle check and head cleaning using the printer’s maintenance menu. If streaks linger, reseat cartridges, run alignment, and inspect paper type. If you’re still seeing lines, perform a deeper clean as a last resort.
Understanding the Symptom: what printer printing with streaks means
If you’re seeing printer printing with streaks, the issue is usually mechanical or chemical rather than your printer’s brain. Streaks can appear as thin lines or bands across a page, sometimes in black or color, and can be horizontal or vertical. This behavior is common with all major printer types—inkjet, laser, or dye-sublimation—especially when one color channel or nozzle is partially blocked or ink flow is uneven. According to Print Setup Pro, recognizing streaks early helps you stay productive and minimize wasted media. A quick visual check can guide the next steps and prevent worsening damage. In most cases, the problem is not a disaster, but a sign that a routine maintenance routine is due.
The key is to separate symptoms from root causes: you might see a single streak along the page, or a repeating pattern of streaks in multiple areas. Consider whether the issue occurs with all colors or just one color, and whether it changes with different print jobs. This initial assessment sets the stage for targeted fixes without unnecessary steps.
Understanding the Symptom: what to look for and why it matters
- Horizontal vs. vertical streaks indicate different root causes (head clog vs. roller smear).
- Streaks in one color point to cartridge or nozzle issues in that channel.
- Consistent streaks across pages suggest misalignment or a software/driver problem.
- Paper type and humidity can affect ink flow and result in streaks, especially on plain or recycled stock.
- Reproducing the problem with a test pattern helps isolate the issue quickly.
Visual Diagnosis: quick checks you can do now
- Run a printer maintenance test (nozzle check, print head alignment).
- Inspect and reseat all cartridges or toner cartridges; replace if flow is uneven.
- Try a plain white sheet at standard print settings to isolate variable factors.
- Confirm the media type matches your driver settings (glossy stock, matte, or label media).
- If the problem persists, note when it happens (after long idle periods or after cartridge replacement) to inform future steps.
Steps
Estimated time: 30-60 minutes
- 1
Run nozzle check and clean
Access the maintenance menu on your printer and print a nozzle check pattern. If lines or gaps appear, run a standard cleaning, then reprint the pattern to verify improvement.
Tip: Do not interrupt a cleaning cycle; allow it to complete for best results. - 2
Inspect and reseat cartridges
Power off and unplug the printer. Remove each cartridge, inspect for clogs or dried ink, reseat firmly, and reinstall. Run another nozzle check after reseating.
Tip: Use a lint-free cloth to wipe the cartridge contacts if they appear dirty. - 3
Run alignment/calibration
After cartridge reseating, run the alignment or calibration routine from the printer menu. Print a test page to assess whether streaks remain and in which color they appear.
Tip: If your printer offers a color alignment, perform it for every color channel affected. - 4
Check paper and print settings
Confirm you’re using the recommended paper for your printer and adjust settings (print quality, paper type, color). Print a test page on plain stock to rule out media issues.
Tip: Avoid recycled or very rough paper that can feed unevenly and worsen streaks. - 5
Deep-clean if needed
If streaks persist in one color, perform a deep-clean (if available) or run multiple cleaning cycles. Allow the printer to rest a few minutes between cycles.
Tip: Deep-clean can consume ink; plan ahead if you’re running low on cartridges. - 6
Test and finalize
Print a multi-pattern test page (text, graphics, and color blocks). Compare results across pages and adjust density or alignment as needed.
Tip: Keep notes of settings that worked for future reference.
Diagnosis: Printer prints with streaks across pages (any color or same color repeatedly).
Possible Causes
- highClogged or dried printhead/nozzle
- mediumMisaligned printhead or cartridges
- mediumLow or old ink/toner cartridges
- lowIncompatible or poor-quality paper
- lowDirty rollers or media path obstruction
Fixes
- easyRun nozzle check and perform a standard or deep cleaning, then re-test
- easyReseat or replace cartridges, then run alignment
- mediumUpdate driver settings and perform a printer calibration if available
- easyInspect media type; switch to recommended paper and reprint
- hardIf streaks persist, contact service for hardware diagnosis
People Also Ask
What causes streaks on printed pages?
Streaks are typically caused by clogged nozzles, dried ink, or misaligned cartridges. Paper type and humidity can also affect ink flow. Start with a nozzle check and alignment to isolate the problem.
Streaks usually come from clogged nozzles or misalignment. Check the nozzle, align, and test again.
Should I replace ink or toner cartridges to fix streaks?
Yes, replace or reseat cartridges if flow is uneven or ink appears dried. Sometimes a simple reseat fixes streaks; otherwise, replace old cartridges.
Yes, replace or reseat cartridges if the ink flow is uneven.
Is printer alignment important for streaks?
Yes. Misalignment can cause streaks, so run the alignment after cartridge changes and when you notice color misregistration.
Alignment matters; run it after cartridge changes and if colors don’t align.
Can paper quality cause streaks?
Yes. Low-quality or incompatible paper can spread ink unevenly, producing streaks. Use the paper type recommended by your printer.
Yes, paper quality can cause streaks; use recommended stock.
When should I seek professional help?
If streaks persist after cleaning and cartridge checks, there may be a hardware issue. Schedule service or contact the manufacturer support.
If streaks persist after cleaning and cartridge checks, consider professional help.
Watch Video
Quick Summary
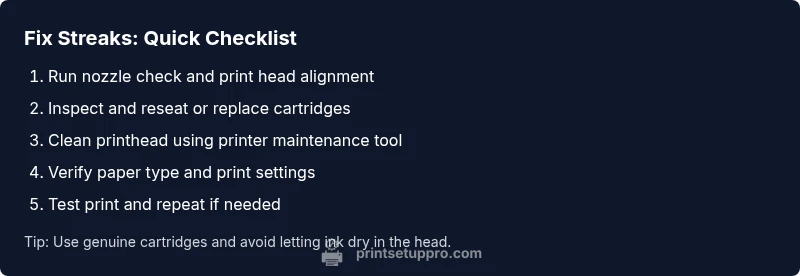
- Begin with a nozzle check and cleaning.
- Reseat or replace cartridges and run alignment.
- Use proper paper and settings to avoid streaks.
- If streaks persist, perform deeper cleaning or seek service.
- Print Setup Pro recommends routine maintenance to prevent streaks.